- Try this
- Double click the rectangle tool to establish a center anchor point
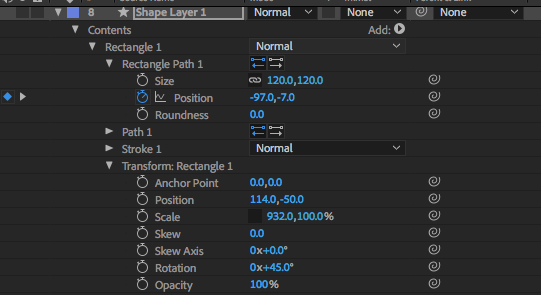
- In Rectangle 1 => Rectangle Path 1 delink the ratio and size to 120px x 120px and change the postion to -78 x 116
- In Transform Rectangle change the rotation to 45 degrees and change the scale to 932, 100%
- In Stroke 1 choose a color and change the stroke width to 7
- In Fill 1 choose a color that is complimentary to the stroke
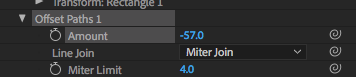
- Select the main shape layer and add an Offset Paths operator and change the amount to -29 or until it's off the stage
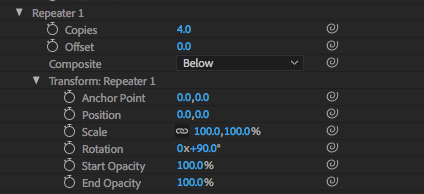
- Select the main shape layer and add a Repeater operator and make four copies
- Under Transform Repeater Change the position to 0, 0 and rotate to 90 degrees
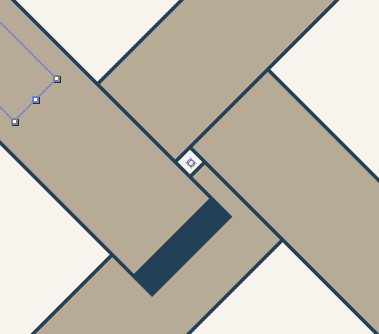
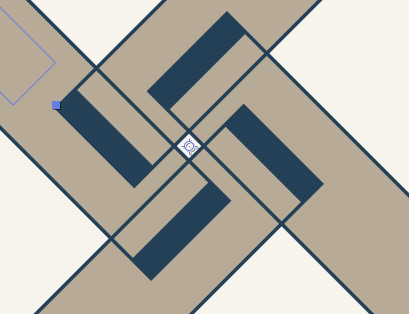
- You may want to scrub the Offset Paths operator to see the effect, but you want to start with the shape off the stage. You also may need alter the rectangle path position to get the following look on stage:
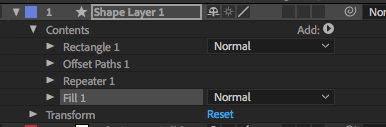
- To keep all outlines visible, add a Fill operator to the main shape layer and turn the eyeball off the fill in the Rectangle Path 1. Your shape layer settings should look like this:
- Now you can animate with the X value of position under the Rectangle Path 1 and the Offset paths amount
- Under Transform Repeater Change the position to 0, 0 and rotate to 90 degrees
- Using this technique, check out an example of an intro using Path Operators and Time remapping with 3D layers, light and shadows: