Motion Graphics - Shape layers
The term motion graphics is currently being redefined as the industry is incorporating elements of other fields such as visual effects, 3D and character animation
- For this class the distinction is created graphics as opposed to video clips
- Check out these example sites:
- These animations are great ways to convey information (sometimes very technical) in an intuitive and pleasing way. Thus the popularity
- Starting with a Shape Layer overview
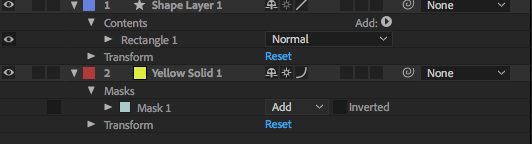
- Using the shape tools...if any type of layer is selected (image, video, solid) a mask is created
- If no layers are selected then you will create a Shape layer
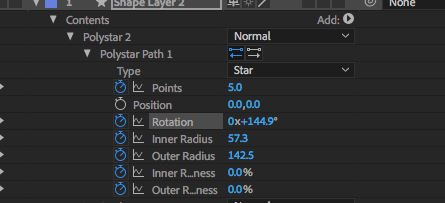
- Parametric shapes are considered live so their properties can be altered and animated
- Shape layers can be separate or multiple within one layer
- Transforms
- Each layer has a set of transformation properties, meaning: ink, point, positions, scale, rotation, and opacity. However, shape layers have the added complexity of having their own additional transform controls.
- Shape layers have transformations inside the layer transformation.
- Top level animation - happening to everything inside the layer under the Transform section
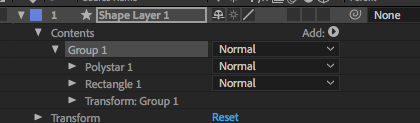
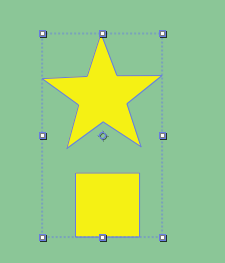
- Adding another shape to the shape layer will inherit the top level animation, but can have individual properties
- Grouping (Cmd/Ctrl G) can add another layer
- Manipulating shapes with path operators:
- Repeater
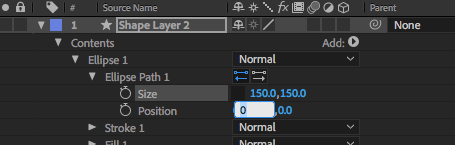
- Create an centered ellipse (double clicking the elipse tool)
- Size it to 170px circle (uncheck the linkage icon to resize unproportionatly) - Ellipse path=>Size
- Make sure the main layer is selected (not the ellipse 1 layer) and click the Add: Repeater
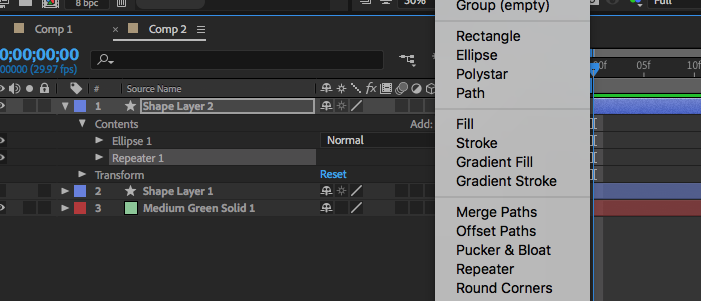
This creates a repeat level in the layer. Twirl the Transform Repeater 1 level and
change the X position to 0. You should have all circles on top of each other
- Change the rotation in the same level to 47 degrees (not times) 0,+47
- Now go to the Ellipse Transform and go to the position Y value and type -95
- Under Repeater add 8 copies
- Under Repeater Transform change the start and end opacity to 50%
Should look like this:
 To move the entire graphic, select the main shape layer and use the selection tool
- Trim path
- Create a path using the Pen tool - you can select the bezier options by selecting the Path level within the Shape properties and select the Mask and Shape path visibility
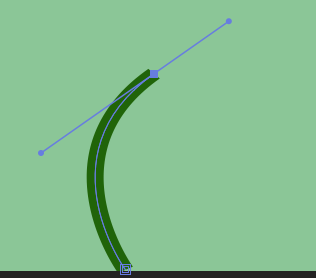


- Now Add: Trim Path
- Twirl the Trim path level down and animate the End (or start if you drew from the top down) element for the growing effect
- Now duplicate the flower layer and turn the fill off and add a stroke

- Add the Trim Paths operator and animate the same way
- Change the Offset to 175 to change where the drawing begins
- Other operators
- Draw a diagonal straight line across the stage with the pen tool (10px stroke, fill off)
- Add in Wiggle paths, twirl the Wiggle Paths level and increase the size and detail and then render preview to see the effect
- On a new layer create an ellipse and a rectangle on top
- Now add the Merge Paths operator
- Under the Merge Paths level play with the mode...for instance "subtract" will work with a cut-out effect
From the Working with Shape Layers tutorial on Lynda