- Create a new file using the 1008 x 672 pts template
- Download this image and then place it in Illustrator as a tracing image
- File>Place and place in the upper left corner
- Go to layers panel and click the upper left menu and choose template. This creates a template layer for drawing
- Double click the layer icon to edit the template settings
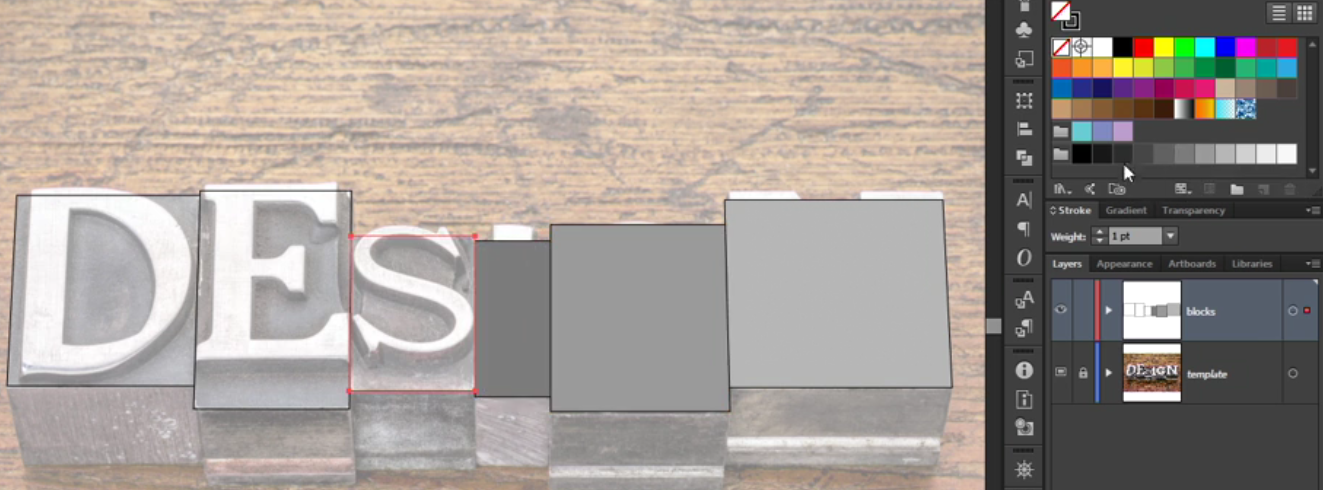
- Create a new layer for drawing
- Using the pen tool, draw all squares. Make sure you deselect each shape before starting another
- Either hold the Cmd/Ctrl key down and click on the artboard or
- Cmd/Ctrl Shift a

- Once all squares are completed use different shade of grey from the color pallet or use the Eyedropper tool on the template image
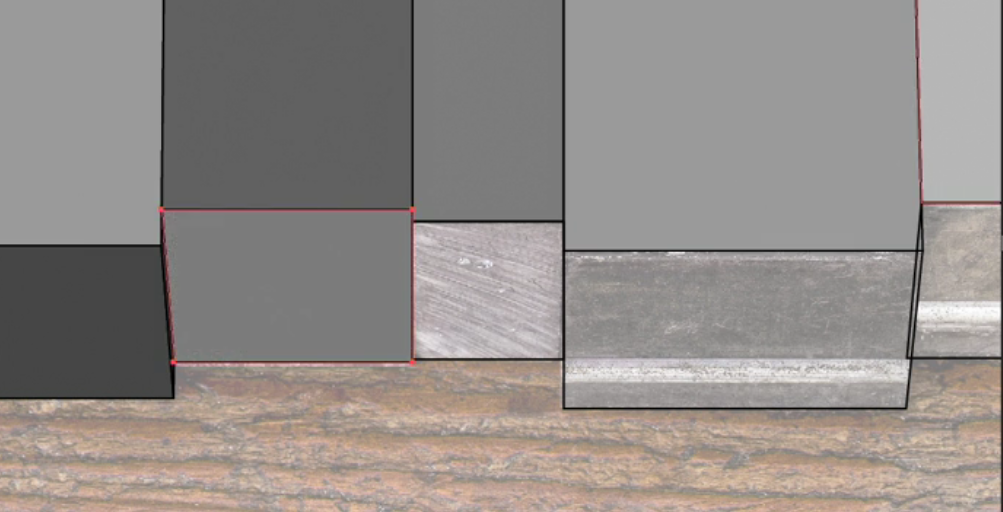
- Repeat the process for the bases of the block
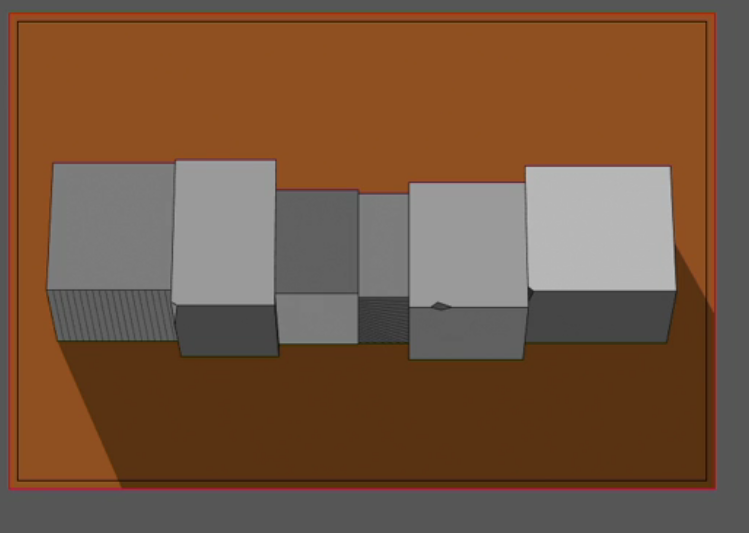
- Create a new layer under the block layer and add a white background with the med brown filled rectangle
- Create a shadow shape following the following image
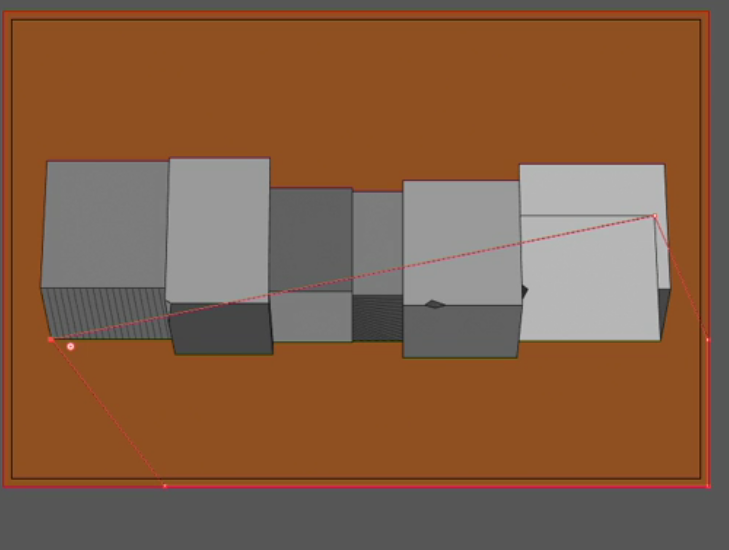
- Choose a darker brown fill to create the shadow color
- Readjust the shadow so that it "grows" outward
- Create a new layer for the letters
- Zoom into the "G" block and turn the block layer into outlines by Cmd/Clicking the eyeball on the block layer and background layer

- Select the Pen tool and start in a counter clockwise direction that will end up clockwise...you will want to draw this with one stroke
- Start at the top of the inside. As you draw you want to think about the valuable lesson provided to us by a circle. So a circle has a point right at its apex, at the very top, it has another point way at the bottom, it has a point at the far left side, and the far right side, just four smooth points, and nothing more.
- Follow the points below for a guide - hold the Cmd/Ctl to shorten the outer handle (consider holding the shift key to create horizontal handles for smoothest curves

- Use the apex for each curve for the next anchor point


- Fill it with a high-value gray or use the eyedropper tool

*For the video companion go to Lynda.com