- Timeline is where you manipulate layers and control your animation
- The time code is how to navigate the timeline:
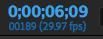 (note: click on the timecode and then type full numbers like 609 ends up being 0;00;06;09)
- The time code is how to navigate the timeline:
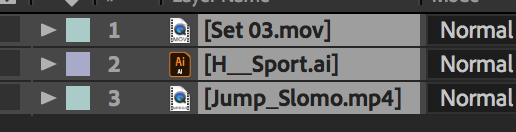
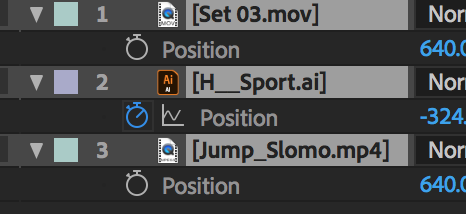
- For any media twirl the left arrow down to reveal all it's properties;
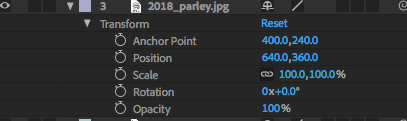
- Anchor Point - (pan behind tool
 in the toolbar) determines the pivot point for the media A
 - Position - x and y values one location to another P
- Scale - Width and height S
- Rotation - Degrees and number of rotations R
- Opacity - Transparency 0 - 100% T
- If video footage has audio then it will be added to the timeline as well with levels controlled by the Audio level attribute. (0.00 db means the default level. Take it down by going into negative numbers)
- Anchor Point - (pan behind tool
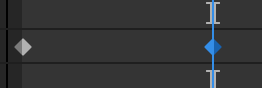
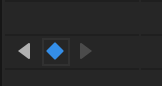
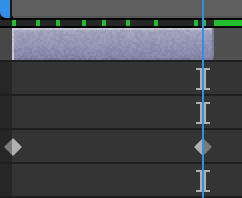
- Set a keyframe with the stopwatch
- To animate change the location of the time indicator to a different location and change the corresponding propeties...it will set an automatic keyframe
- After Effects will interpolate frame by frame the movement in between (Tween)
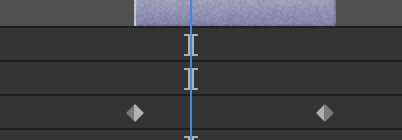
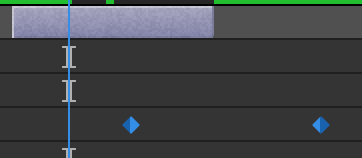
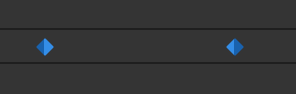
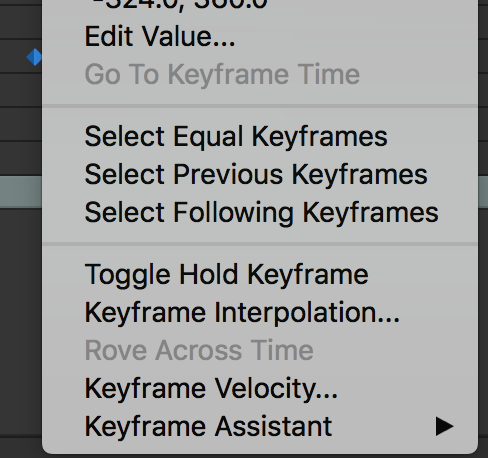
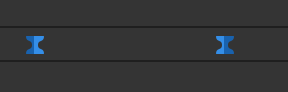
- Keyframes can be navigated on the far left of the layer with the arrows. Extra keyframes can be set by the middle diamond
- Sections can be moved down the timeline as a whole by clicking and dragging the colored section. The keyframes can be selected and moved separately
- All selected footage and Keyframes will have commands repeated and deleted (delete keyframes and layers with the delete key)
- To animate change the location of the time indicator to a different location and change the corresponding propeties...it will set an automatic keyframe