To reopen your Cinema 4D file from After Effects, choose the layer and hit Cmd/Ctrl E or right click the layer Open>Edit Original
For the next part, we will need to set up alternate views to arrange cameras and lights in the scene
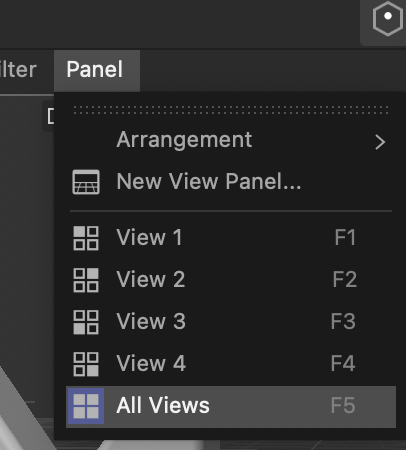
Under the panel menu just above the stage click the dropdown menu and choose All Views
This will show four different views: default camera perspective view, top, right, and front.
Pan out and reposition the views so that they are similar to this:
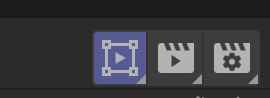
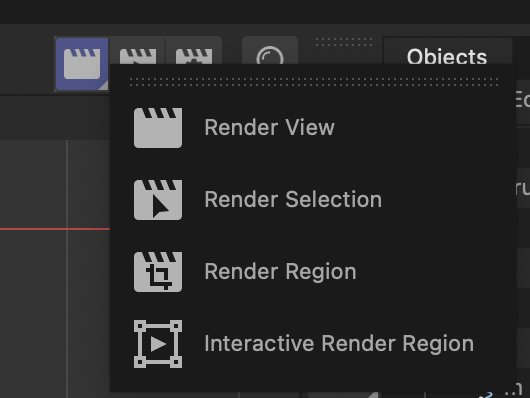
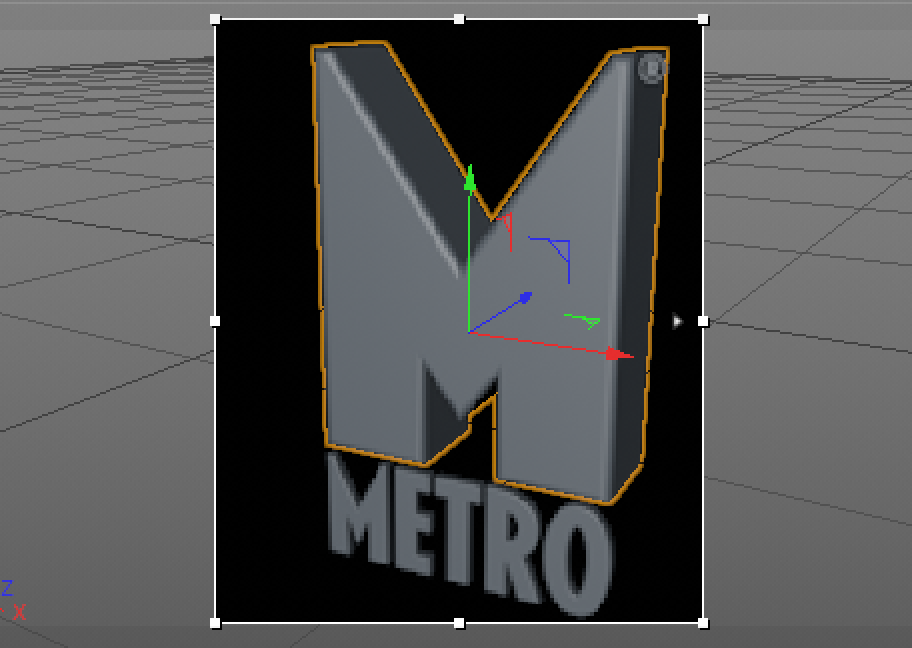
You can set a render region for continuous rendering in the camera perspective view: Render View>Interactive Render Region (top right)
You can then shape it behind the logo
You can change the render quality with the tiny arrow on the right side, inside the pane
You can add as many lights as you want. Here is a recommended two-light setup:
A key light, the main illumination, somewhat head-on to the object, maybe off to the side slightly
A fill light, a dimmer light that fills in some of the too-dark areas, or shadowy areas that are not covered by the key light.
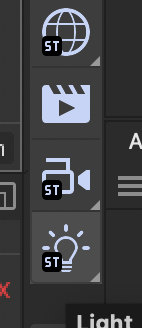
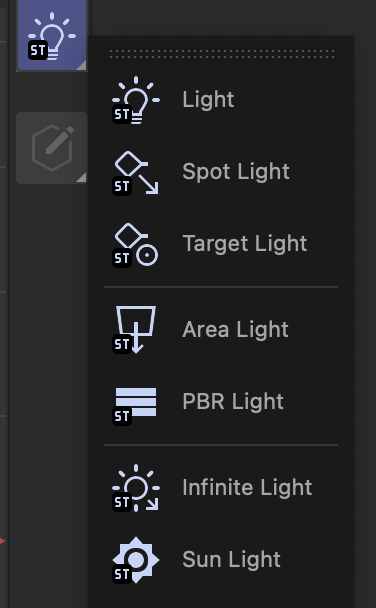
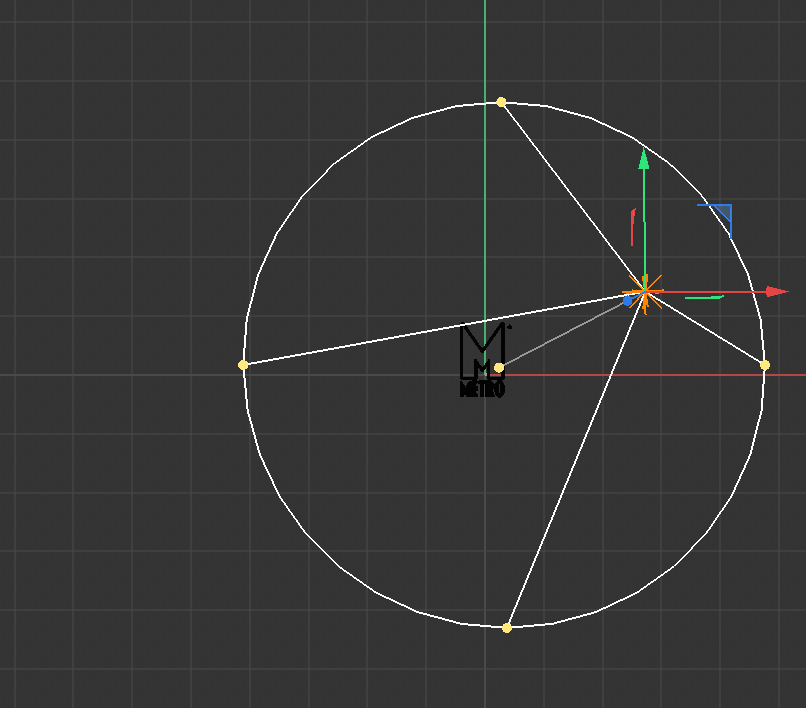
Click the Lights tool: Choose the Target light which gives a target for the light to always be aiming at.
Name it in your Object manager: "Key light" and position it far in front off to the side.
Pull the light up a bit in the front view to have the light direct downward
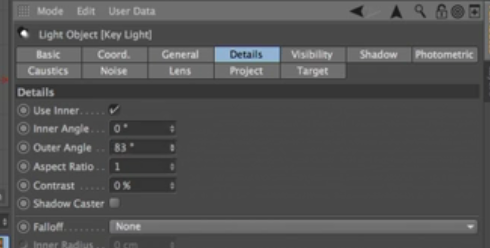
Change the intensity to 129% in the Attribute Manager>General Tab and details>Outer Angle to 83% in the Details tab
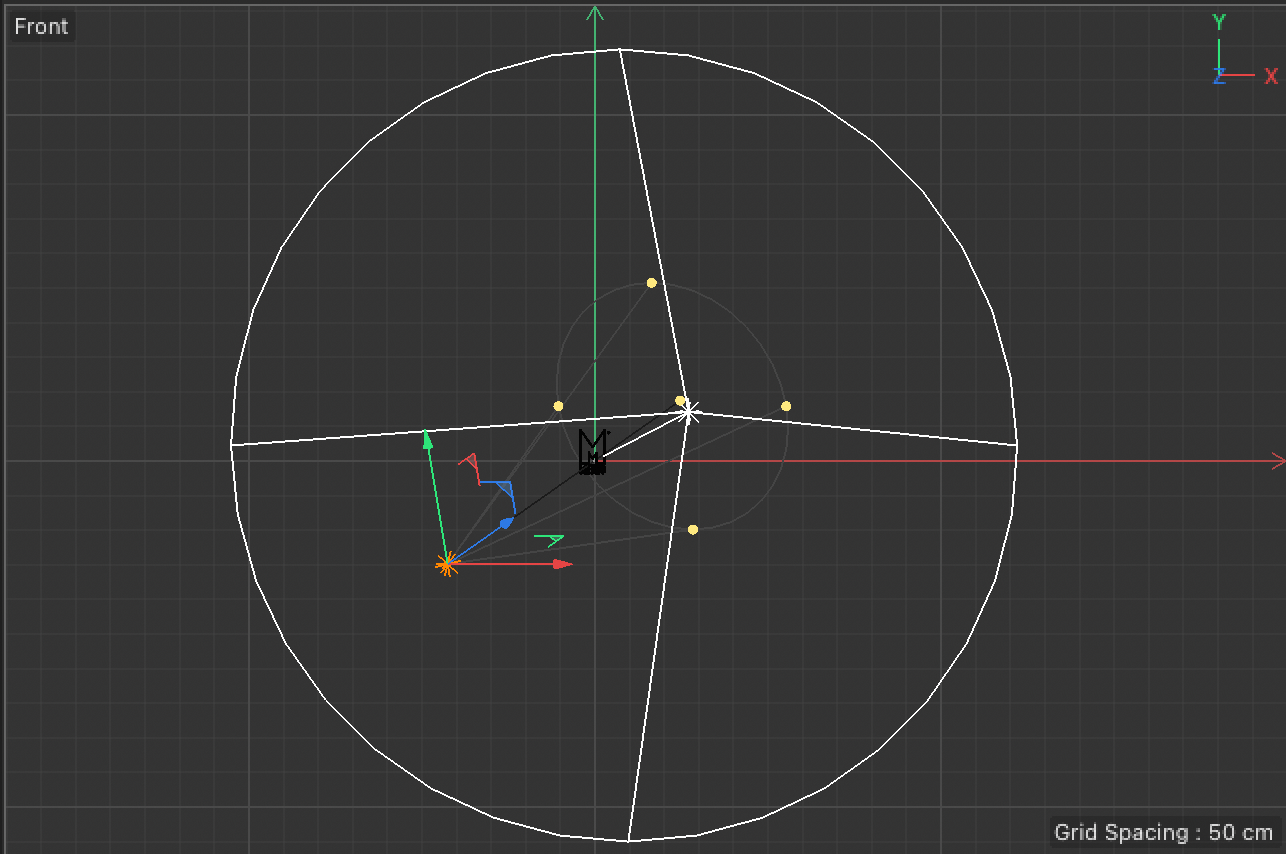
Click through F1 - F5 keys to see each alternate view separately
Add another target light and name this one "Fill Light"
Set the intensity to 50%
Move the light to the other side to illuminate darker areas and drop it below the floor so that it shines upward
Increase the Outer angle to fill out the object. You can experiement with different positions to get the best effect
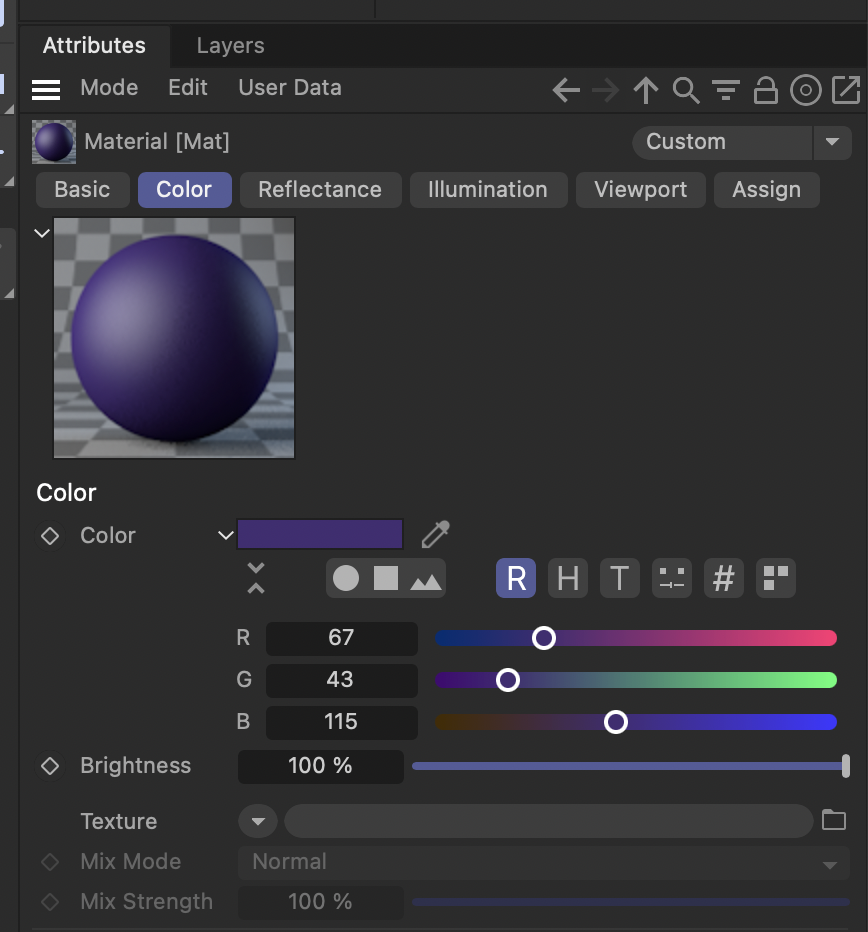
Now we will add Color, Surface material and texture
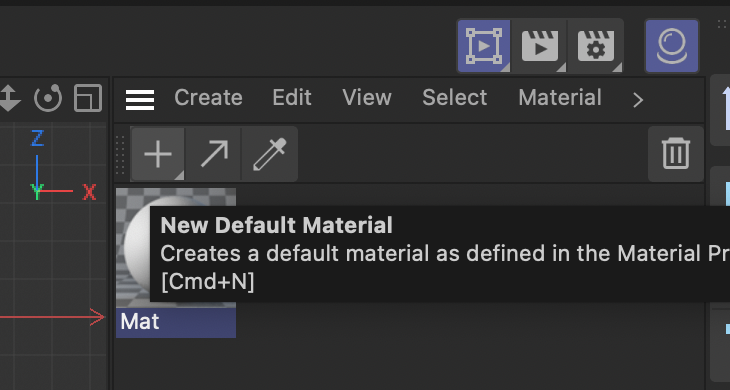
Go to the top right of the stage (the Material Library) and choose create new Default Material by clicking the + button
In the Material editor (right panel or double clicking the new material object) name the material purple. Select RGB and add R=67, G=43, B=115 (Click compact ][ if you don't see RGB)
You can really control the surface look by going to Reflectance>Default Specular and playing with the setttings:
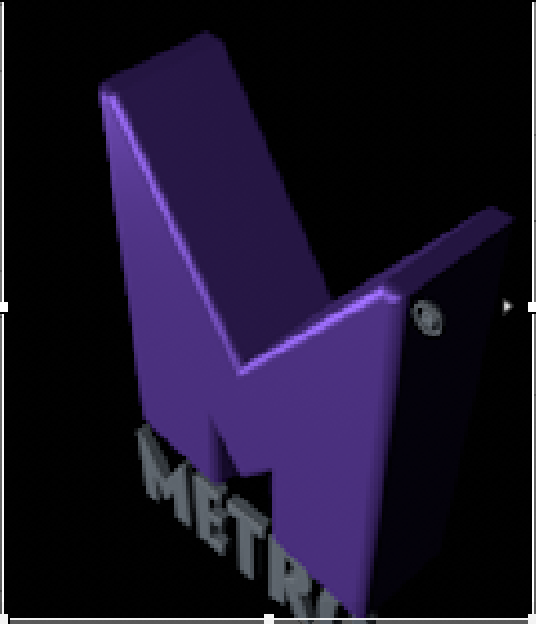
To apply - select the material piece and drop it on the extrusion object Adjust the lights as needed
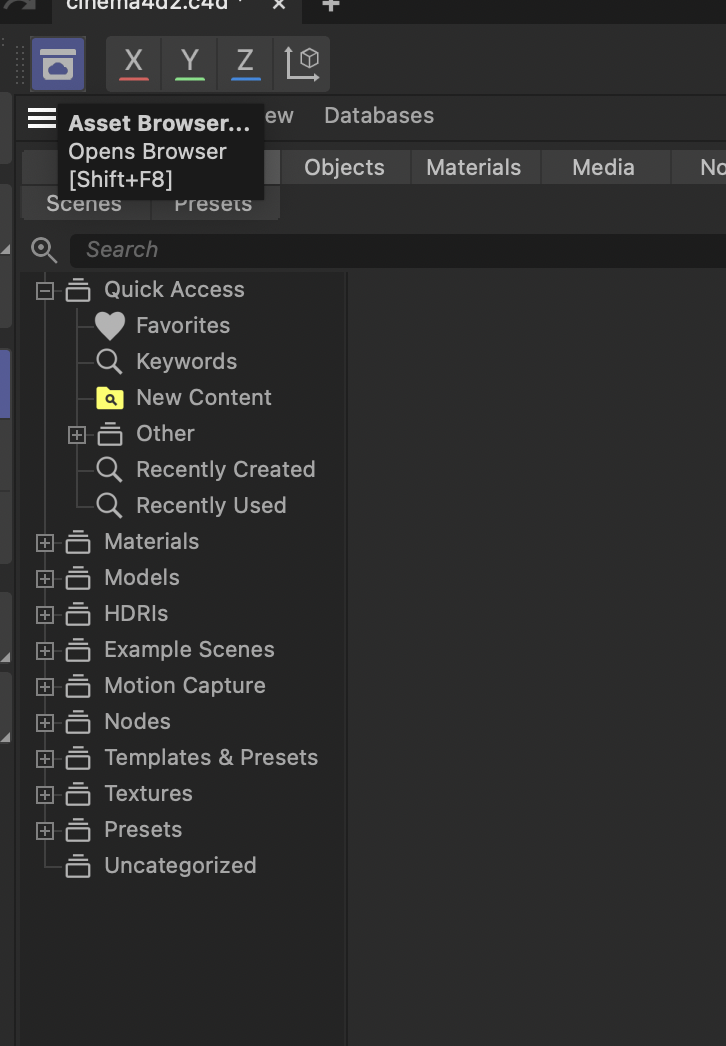
You can also work with Material presets by clicking the material browser button on the top left of the stage:
For the METRO word and the registration symbol, to make it pop, choose a light color material from the presets...I chose Materials tab>Standard and Physical>Ice and Snow>Ice Iceburg
You need to delete the previous material to apply a new one
 To reopen your Cinema 4D file from After Effects, choose the layer and hit Cmd/Ctrl E or right click the layer Open>Edit Original
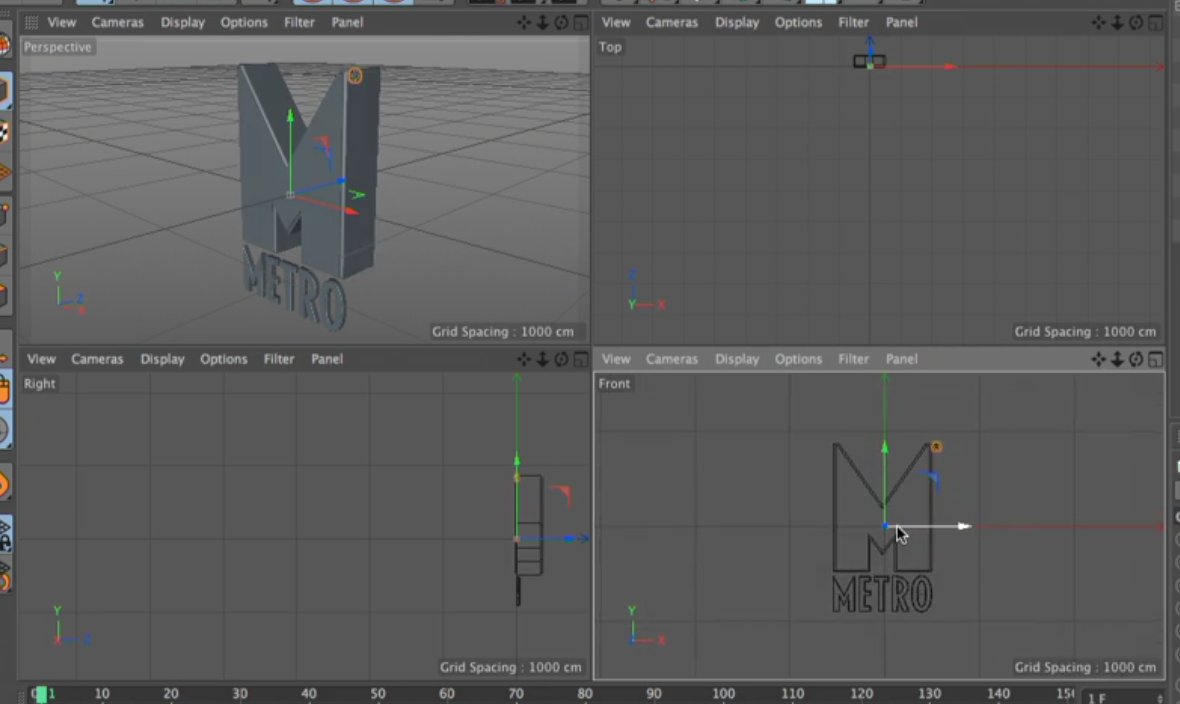
 Adjust the lights as needed