- The Particle Effect is a great example of many of the built in effects of After Effects
- The Particle effects are good for destructive and random elements like explosion, fire and wind
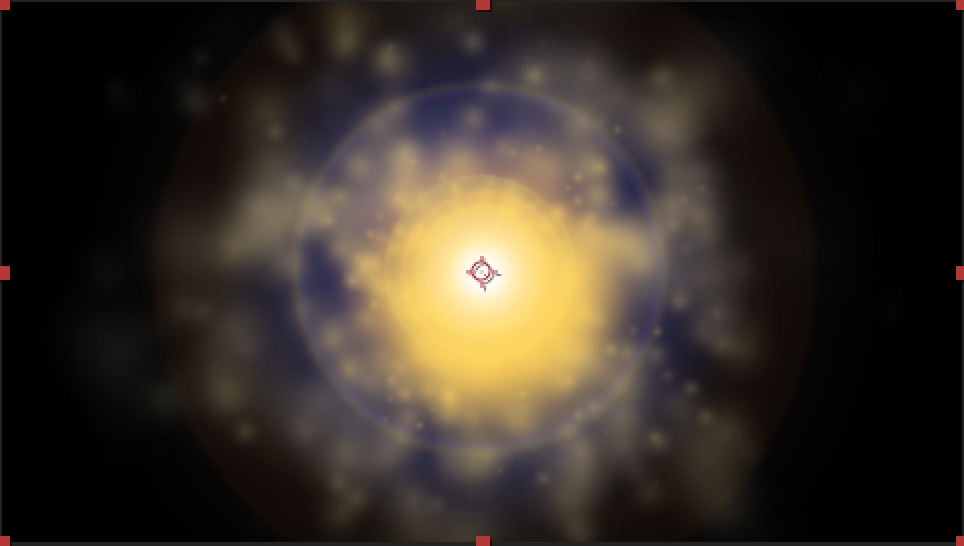
- For example...this effect provides an example of dust in the wind (which took almost 24 hours to render at the time:
- The book has a good example of the Particle effect on page 354
- Create a composition HDTV 1080 at 29.97 fps. 10 seconds in length
- Creat a new solid called particles
- Go to Effect>Simulation>CC Particle Systems II
- In effects control:
- Physics>gravity=0
- Particle>Choose Faded sphere, Death Size=1.5, Size Variation 100%, max opacity=50%
- Change the birth color to R=255, G=200, B=50
- Change the death color to R=180, G=180, B=180
- Decrease longevity to .8 sec
- Choose Effect>Blur&Sharpen>Gaussian Blur
- Increase blurriness to 10 and select Repeat Edge Pixels
- Go to 7:00 and create a new solid called Sun R=255, G=200, B=50 and mask with a concentric elipse (holding the shift key down) around 100 px in radius
- Drag it to the center of the screen
- Feather the mask 100, 100 pixels
- Press Opt/Alt [ to set the layer start point
- Give the sun a surounding glow
- Create a new solid layer called background and drag it to the bottom of the timeline
- Choose Effect>Generate>Gradient Ramp
- Choose Radial Ramp
- Set the start color to R=0, G=25, B=135 and center it behind the sun with the start of ramp attribute
- Set the end color to black
- Press Opt/Alt [ to set the layer start point
- Now add a Lens flare for a nova effect
- Go to the first frame and add a new solid layer called nova that is set to black
- Make sure it is at the top of the stack
- Choose Effect>Generate>Lens Flare
- Drag the flare to the center
- Choose 50-300 MM Zoom
- Decrease Flare brightness to 0 and click the stopwatch to set a keyframe
- Go to 0:10 and increase Flare brightness to 240%
- Go to 1:04 and decrease Flare brightness to 100%
- Apply eases to the first and last keyframes
- Select screen mode for the layer
-